

 By: Sonya Fehér
We’ve been talking this summer about how to declutter paper in “Say Goodbye to Paper Clutter” and we covered how to opt out and go paperless in “Keep Paper Clutter from Coming In.” But paper will come — mail, school assignments, artwork, and bills.
So, your next step is to prevent these from turning into paper piles on your counters, dining table, and any other available flat surface.
Believe it or not, you can prevent paper piles in three simple steps:
1. Pick the time to process mail and paper: While you might need to check mail daily, you get to choose when to process it. Place an inbox near your main entry so paper has a place to live until you have time to deal with it. Set aside time to process mail and take follow-up action. This could be once a day, once a week, or even once a month if you’ve got your bills on autopay. Remember, going through the mail and acting on it are different steps.
2. Set up a space for paper processing
Create a space in your entryway, office, or another convenient spot for processing papers. You’ll need an inbox and a desktop file box for action files.
Besides an inbox to hold the paper until you process it, you’ll want a desktop file box for action files. Part of what creates paper piles is the need for follow up. To keep from building up those piles, your desktop file box is a place for those action items to live until you act on them.
A desktop file box is a mini filing cabinet, which you can easily transport. I recommend a box with a lid, so the paper is out of sight when you’re not actively dealing with the mail. Find these in office supply stores, at Walmart, Target, or on Amazon in an assortment of colors and materials to match your décor.
Set up your file box with folders for actions you need to take, such as:
· To Process: If you don’t need a separate inbox.
· To Mail: For stamps, envelopes, address labels, and a
checkbook.
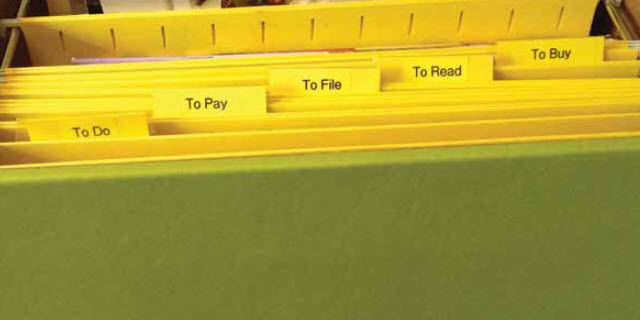
· To-Do files by action: Create files with specific types of to-dos like To Pay, To Call, To Go (for errands), To Read, To Write, To Buy, etc.
· To File: For papers you need to reference, stored separately.
You’ll also want a trash can, recycling bin, and a shredder or shredding bin nearby.
3. Process your paper
To keep paper from piling up on surfaces or in your new handy dandy desktop file box, you actually need to process it. You might do this all at once or pick separate times to complete each step.
First, you’ll check the mail when you have time to process it. If you can’t process it immediately, place it in an inbox or the “To Process” file in your file box.
Next, sort through mail and other papers into recycle, shred, and trash. Place any remaining paper into action files or take the required action immediately.
The key is realizing that different actions take distinct types of energy and time. They might even require you to be in various places. The point of action files is to help you focus on one type of action at a time so you can get into a rhythm of it and complete all that paper processing efficiently. For example, you could set up paper processing times and go through files in order of urgency and importance. You might read the letter and then recycle it. Or pull out your “To Pay” file and log into payment portals or put checks into envelopes. You might make phone calls and set appointments.
By organizing your actions this way, you can streamline your paper processing and keep piles from building up.
Next up, we’ll talk about the paper you need to keep in reference files and how to create and maintain a filing system.
If you have questions about how to handle any part of your paper decluttering and organizing, send your questions to sonya@spacewiseorganizing.com and I’ll answer them in our next column.
By: Sonya Fehér Organizer, Coach, Author, & Speaker https://spacewiseorganizing.com